Contents
Introduction to Taking Screenshots on Mac
Screenshots have become an integral part of our digital interactions, serving as a quick and efficient way to capture and share moments from our screens. On a Mac, this functionality is not just a tool; it’s a seamlessly integrated feature that enhances the user experience. Apple, known for its user-centric design philosophy, has imbued macOS with intuitive screenshot capabilities that cater to both the casual user and the power user. Whether it’s for preserving a memorable conversation, snagging an image from a video, or creating a guide, the ease of taking a screenshot on a Mac is a testament to Apple’s commitment to simplicity and efficiency. This inherent convenience is a reflection of how well Apple understands the needs of its users, integrating functionality with the elegance and sophistication that MacBooks are renowned for.
Understanding Your MacBook’s Screenshot Capabilities
The MacBook, a pinnacle of the Apple ecosystem, is equipped with a robust set of screenshot functionalities, each designed with user convenience in mind. macOS simplifies the process of capturing your screen, offering a variety of options that cater to different needs. Here’s a breakdown of these capabilities:
- Simple Keyboard Shortcuts: macOS provides straightforward keyboard shortcuts for quick screenshot captures. Users can effortlessly take a full-screen capture, focus on a specific window, or select a portion of the screen. These shortcuts are intuitive and easy to remember, making the process seamless.
- Versatile Screenshot Tool: Beyond basic shortcuts, Macs have a Screenshot app which is accessed through a simple keyboard combination. This tool offers options like screen recording and timed screenshots, adding flexibility to how users capture their screens.
- Preview Integration: Once a screenshot is taken, it can be instantly previewed. This integration allows for quick edits, annotations, or sharing, streamlining the workflow from capture to usage.
- Customizable Settings: Users can tailor their screenshot experience, such as choosing a default save location or selecting preferred file formats. These customizations ensure that the screenshot functionality adapts to the user’s specific needs and preferences.
- Compatibility Across Devices: Screenshots taken on a MacBook seamlessly integrate with other Apple devices, thanks to iCloud and the continuity features of macOS. This ensures easy access and sharing across your Apple devices, enhancing the overall user experience within the Apple ecosystem.
These features highlight the MacBook’s capability to not only take simple screenshots but also to offer a comprehensive and user-friendly experience, maintaining Apple’s standard of ease and efficiency.
Basic Screenshot Commands
The MacBook provides several key commands for taking different types of screenshots, each tailored to capture exactly what you need. Here are the primary commands:
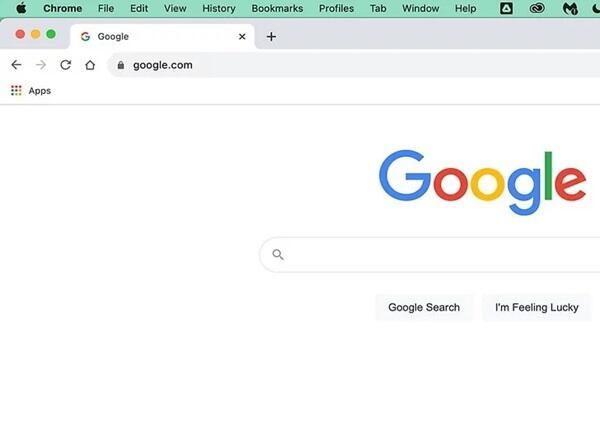
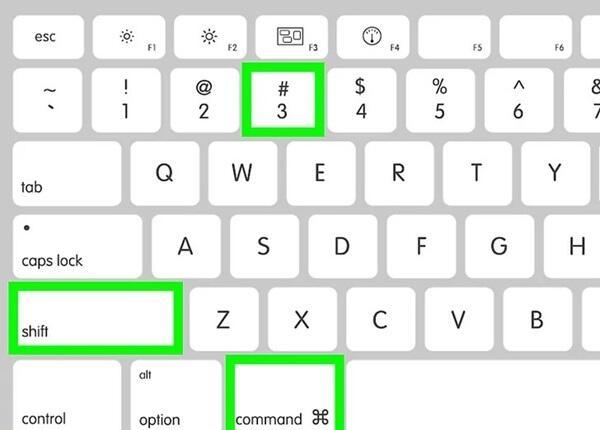
Capturing the Entire Screen:
- Press Command + Shift + 3.
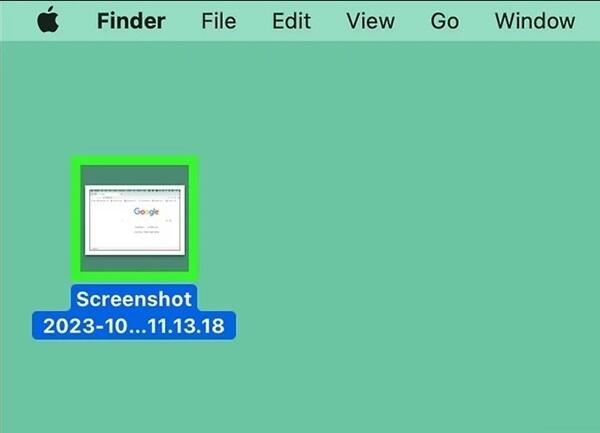
- This command instantly captures the entire screen. Once pressed, the screenshot is saved to the desktop or your specified location.
Selecting a Portion of the Screen:
- Use Command + Shift + 4.
- After pressing these keys, the cursor changes to a crosshair. You can then click and drag to select the specific screen area you want to capture. Releasing the mouse or trackpad button takes the screenshot.
Focusing on a Specific Window:
- Activate with Command + Shift + 4, then press the Spacebar.
- This changes the cursor to a camera icon. Hover over the window you want to capture and click to take the screenshot. This method ensures that only the selected window, along with its shadow, is captured, isolating it from other screen content.
These commands form the foundation of the MacBook’s screenshot functionality, offering a quick and efficient way to capture different aspects of your screen. Whether it’s a full-screen image, a selected area, or a specific window, these commands provide the flexibility needed for various screenshot requirements.
Advanced Features and Shortcuts
While the basic screenshot commands cover most needs, macOS also offers advanced features for more specific requirements. These enhanced functionalities include:
Timed Screenshots:
- By accessing the Screenshot app (using Command + Shift + 5), users can set a timer for the screenshot. This is ideal for capturing content that requires a delay, such as dropdown menus or mouse-over effects.
Including the Cursor:
- Typically, the cursor is excluded from screenshots. However, for instructional content or to highlight specific elements, you can include the cursor by using the Screenshot app. This adds an extra layer of context to your screenshots.
Directly Saving to Clipboard:
- For immediate editing or sharing, you can save screenshots directly to the clipboard instead of a file. This is done by adding Control to the basic command (e.g., Control + Command + Shift + 3).
On-Screen Thumbnail Preview:
- After taking a screenshot, a thumbnail appears in the corner of the screen. Clicking on this thumbnail allows immediate editing, cropping, and sharing, offering a quick way to modify the screenshot without opening another app.
Recording a Portion of the Screen:
- The Screenshot app also enables screen recording. You can record the entire screen or select a specific area, making it useful for creating tutorials, demonstrations, or recording video content.
These advanced features underscore the versatility of Mac’s screenshot capabilities, offering users a range of options for different scenarios and needs. From timed captures to direct clipboard saving, these functionalities enhance the screenshot experience on macOS, making it a powerful tool for both casual and professional use.
Customizing Screenshot Settings on Your MacBook
Tailoring screenshot settings on a MacBook is a straightforward process, allowing users to adapt this feature to their specific preferences and workflow. macOS provides flexibility in customizing how and where your screenshots are managed, ensuring that the process aligns with your usage patterns.
To begin customizing your screenshot settings, you can use the Screenshot app (Command + Shift + 5). This app is not only a gateway to various screenshot modes but also a control center for adjusting preferences. Within this app, users can find options for saving screenshots to different locations, choosing file formats, and even deciding whether to show the floating thumbnail or not.
One of the key customizations is selecting the default save location for screenshots. By default, macOS saves screenshots to the desktop, but you can easily change this to a specific folder, your documents, or even cloud storage like iCloud Drive. This is especially useful for keeping your desktop uncluttered and your screenshots organized.
Additionally, users have the option to choose the file format of the screenshots. While the default is PNG, which offers high quality, you can switch to formats like JPEG for smaller file sizes, especially useful if you need to share them quickly or are conscious of storage space.
These customization options in macOS highlight Apple’s focus on providing a user-centric experience. By allowing users to tailor screenshot settings, the MacBook becomes not just a tool, but an extension of the user’s personal and professional digital environment, adaptable to a variety of needs and preferences.
Changing Default Save Location
Adjusting the default save location for screenshots on your MacBook can greatly enhance your workflow. Here’s a step-by-step guide to making this change:
- Open the Screenshot App: Press Command + Shift + 5 to open the Screenshot app. This is where you can access the settings for your screenshots.
- Access Options: In the Screenshot app toolbar, you’ll find an “Options” menu. Click on this to view various settings, including save locations.
- Select Save Location: Within the Options menu, you’ll see a list of folders and destinations, including Desktop, Documents, Clipboard, Mail, Messages, and Preview. You can also choose “Other Location” to specify a custom folder.
- Choose Your Preferred Location: Select your desired default save location from the list. If you choose “Other Location,” navigate to the specific folder where you want your screenshots to be saved and select it.
- Confirm the Setting: Once you’ve selected your save location, all future screenshots will automatically be saved there unless you change the setting again.
By following these steps, you can ensure that your screenshots are saved exactly where you want them, keeping your files organized and easily accessible. This simple customization can significantly streamline your workflow on a MacBook.
Editing Screenshots with Preview
Preview, the versatile image and PDF viewer on macOS, offers a range of basic editing tools ideal for modifying screenshots. Here’s how to use Preview to edit your screenshots:
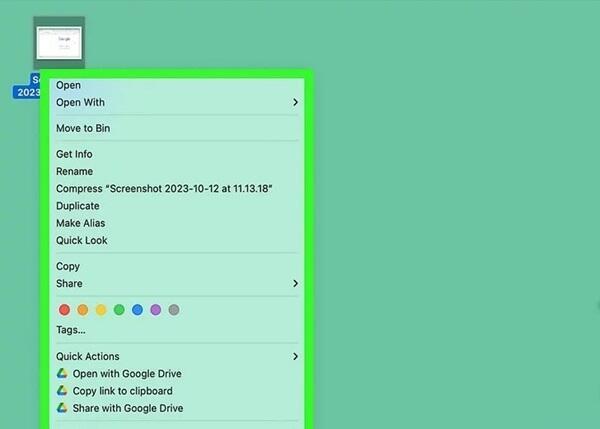
- Open the Screenshot in Preview: Locate the screenshot you’ve taken and right-click on it. Select “Open With” and then choose “Preview.” This will open the screenshot in the Preview app.
- Access Editing Tools: In the Preview toolbar, you’ll find a toolbox icon. Click on it to reveal editing options, such as sketch, draw, text, shape, and more.
- Make Your Edits: Use the sketch tool for freehand drawing, add shapes or text, or even adjust the color and size. You can crop the screenshot by dragging the rectangular selection tool over the area you want to keep and then selecting “Crop.”
- Save Your Changes: After making the desired edits, go to the File menu and select “Save.” If you want to keep the original screenshot unaltered, choose “Export” to save the edited version as a new file.
With these simple steps, Preview transforms from a mere viewer to a handy tool for basic yet effective editing of your screenshots on MacBook, enhancing their utility and presentation without the need for more complex editing software.
Troubleshooting Common Screenshot Issues on Mac
While taking screenshots on a Mac is generally a smooth process, users might occasionally encounter issues. Understanding these common problems and knowing how to resolve them can enhance your experience with macOS.
One frequent issue is when the screenshot command doesn’t seem to work. This can often be due to keyboard shortcuts being reassigned or disabled. To resolve this, go to System Preferences > Keyboard > Shortcuts. Here, ensure that all the shortcuts for screenshots are correctly set and enabled.
Another common problem is not finding the screenshot after taking it. If your screenshots are not appearing on the desktop or your designated folder, check the settings in the Screenshot app (Command + Shift + 5) to confirm the save location. Additionally, ensure that the “Don’t Save” option is not selected.
Sometimes, the issue might be with the quality or format of the screenshot. If the image doesn’t meet your expectations, remember that you can change the default file format and other settings through the Screenshot app. Switching from PNG to JPEG, for example, can reduce file size, which might be preferable for sharing.
Lastly, if your Mac is not allowing you to take screenshots due to permission issues, particularly after an OS update or software change, check your system’s security settings. Go to System Preferences > Security & Privacy and ensure that screen recording and accessibility permissions are properly set for the apps you use.
By addressing these common issues, you can ensure that the screenshot functionality on your Mac remains a reliable and efficient tool for capturing and sharing your screen content.
Conclusion: Enhancing Your Mac Experience with Efficient Screenshot Techniques
Mastering the art of taking screenshots on a MacBook can significantly enhance your overall experience with your Mac. The simplicity and versatility of macOS screenshot tools, from basic commands to advanced features, cater to a wide range of needs and preferences. Embracing these techniques not only streamlines your workflow but also unlocks new potentials in how you interact with and utilize your Mac.
Whether it’s capturing fleeting moments, creating instructional content, or organizing your digital workspace, the power of screenshots is undeniable. By integrating these methods into your daily use, you can make the most of your MacBook’s capabilities, turning a simple feature into a powerful tool. Remember, the key to a richer Mac experience lies in leveraging these functionalities to their fullest, adapting them to fit your unique digital lifestyle.